ARtGlass, an augmented reality technology provider, has partnered with Epson to bring the rich history of the United States to life through immersive experiences. Have you ever visited a historic site and wished you could see more than just old furniture and empty rooms? For example, when visiting Mount Vernon, the home of George Washington, wouldn't it be amazing to witness the past in vivid detail?
ARtGlass is a leader in augmented reality storytelling, and now, in collaboration with Epson, they are bringing the stories of iconic American historical sites into our daily lives. The company has already been implemented in many museums, palaces, and ruins across Europe. In February of this year, ARtGlass launched its AR tours at the James Monroe House in Virginia, and by June, it will expand to Mount Vernon.
Greg Werkheiser, CEO and co-founder of ARtGlass, envisions the technology being available at over a dozen of North America’s most iconic cultural landmarks by 2019. “More and more people are looking for more than just a guided tour,†he says. With over 1.4 billion visitors to U.S. cultural sites annually—more than all professional sports events and theme parks combined—the demand for engaging and interactive experiences is growing, especially among younger generations.
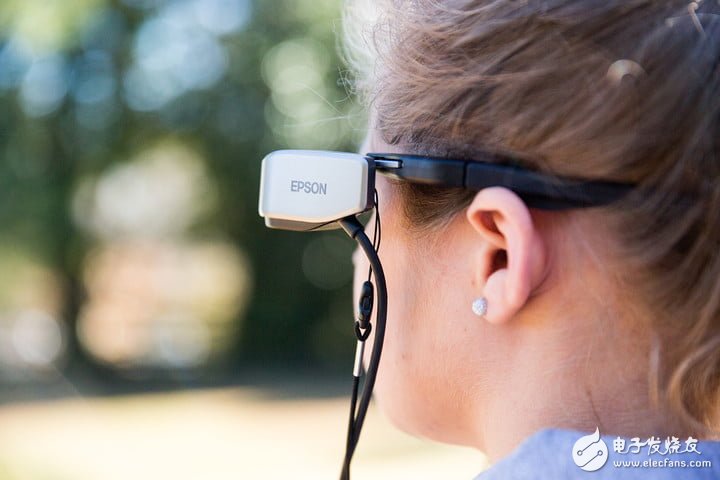
AR technology enhances real-world environments by overlaying digital content, such as images, videos, and 3D models. The Epson smart glasses used by ARtGlass are designed to be lightweight and user-friendly, featuring thick 3D lenses and a 5-hour battery life. Unlike Google Glass, these glasses are not overly discreet but still blend well into the experience.

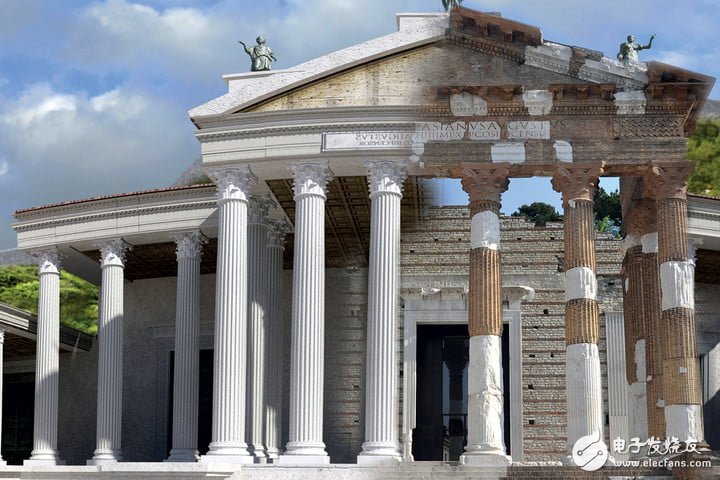
ARtGlass was first introduced in Italy at UNESCO World Heritage Sites like the Monza Royal Villa, where it brought long-lost interiors back to life. Visitors can now explore these spaces with virtual reconstructions, hear period music, and even see restored decorations that no longer exist in the physical world.
At Mount Vernon, the AR experience lasts about 50 minutes, with 13 minutes spent walking through the estate. It acts as a time machine, revealing hidden stories about Washington’s life and the use of the property over centuries. The tour begins with a 3D hologram of George Washington himself, created using a combination of filming and AR software. Throughout the journey, users encounter moving characters, 3D reconstructions of lost buildings, historical documents, and immersive soundscapes.
The cost of the AR tour varies depending on the location. At Mount Vernon, the base ticket is $20, with an additional $12.50 for the AR experience. While ARtGlass shares profits, it collaborates with local governments to cover initial installation costs.
“Although we are not the first to bring AR to cultural sites, we are the first to combine deep historical knowledge with technical innovation to make it a reality,†Werkheiser explains. He also founded a cultural heritage partner firm that supports global efforts in preserving and promoting historical sites.
However, AR also presents challenges, particularly when dealing with sensitive topics like slavery or genocide. “Because AR's first mainstream exposure was Pokémon GO, people often ask if we're just creating cartoon characters,†Werkheiser says. “But we believe better storytelling can enhance respect for history and cultural sites. For us, it's not a threat—it's an opportunity.â€

As AR continues to evolve, it offers a powerful tool for education, engagement, and preservation. By blending the past with the present, ARtGlass is helping to create a new era of cultural tourism—one where history isn’t just seen, but experienced.
Digital Timer Switch Socket
Instruction Manual
1. Features
Clock display, 10 sets of adjustable timed power control, randomized power control, manual switch and optional DST setup.
2. First time charging
This timer contains a rechargeable battery. It is normal that the new/old model runs out of battery if it wasn`t being charged for a long period of time. In this case, the screen will not turn on.
To charge : simply plug the timer to a power outlet. The charging time should take at least 15 minutes.
If the screen doesn`t light up or displays garbled characters, simply reboot the system by pressing the [RESET" button.
3. Set clock
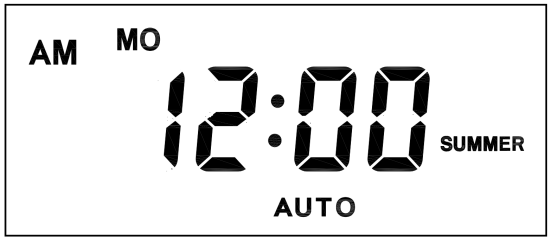
Hold [CLOCK" button and [WEEK" button to adjust week.
Hold [CLOCK" button and [HOUR" button to adjust hour.
Hold [CLOCK" button and [MINUTE" button to adjust minute.
Hold [CLOCK" button and [TIMER" button to select 12 hour/24 hour display.
Hold [CLOCK" button and [ON/AUTO/OFF" button to enable/disable DST (daylight-saving-time).
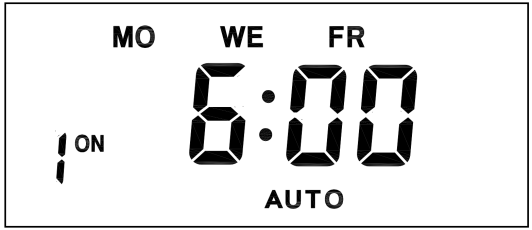
4. Set timer
Press [TIMER" button, select and set timer. Setting rotation : 1on, 1off, 2on, 2off, ...... , 10on, 10off.
Press [HOUR" button to set hour for timer.
Press [MIN" button to set minute for timer.
Press [WEEK" button to set weekday for timer. Multiple weekdays can be selected. ex: if selected [MO", the timer will only apply on every Monday; if selected [ MO, WE, FR", the timer will apply on every Monday, Wednesday and Friday.
Press [RES/RCL" button to cancel the selected on or off timer. The screen will show "-- -- : -- --" , the timer is canceled.
Press [RES/RCL" button again to reactivate the timer.

When timers are set, press [CLOCK" to quit timer setting and return to clock.
5. Random function

Press [RANDOM" button to activate random function, press again to cancel function.
System only runs random function when [AUTO" is on.
Random function will automatically start the timer from 2 to 32 minutes after the setting.
ex : if timer 1on was set to 19:30 with the random function on, the timer will activate randomly between 19:33 to 20:03.
if timer 1off was set to 23:00 with the random function on, the timer will activate randomly between 23:02 to 23:32.
To avoid overlapping, make sure to leave a minimum of 31 minutes gap between different sets of timer.
6. Manual control
Displayed features:
ON : socket turns on.
OFF : socket turns off.
AUTO : socket turns on/off automatically via timer.
Manual ON setting
Press [ON/AUTO/OFF" button to switch from [AUTO" to [ON".
This mode allows socket of the device to power up. Power indicator will light up.
Manual OFF setting
Press [ON/AUTO/OFF" button to switch from [AUTO" to [OFF".
This mode turns socket of the device off. Power indicators will turn off.
7. Electrical parameters
Operating voltage : 230VAC
Battery : NiMh 1.2V
Power consumption : < 0.9W
Response time : 1 minute
Power output : 230VAC/16A/3680W
Q&A
Q: Why won`t my timer turn on?
A: It`s out of battery, you can charge the timer by plugging onto any power outlet. Charge the device for at least 15 minutes. Then press [RESET " button to reset the device.
Q: Can I set seconds of the timer?
A: No, the smallest time unit is minute.
Q: Does my timer keeps old settings without being plugged onto a power outlet?
A: Yes, the timer has an internal battery, it allows the timer to save settings without a power outlet.
Q: Is the battery rechargeable?
A: Yes, the battery is rechargeable. We recommend to charge it for 4 hours so the battery is fully charged.
Q: Does the timer needs internet connection?
A: The timer does not need internet.
Q: Does the screen have back light function?
A: It doesn`t support back light.
Digital Timer Socket, Timing Switch Socket, Electronic Timer Socket, Timer Socket
NINGBO COWELL ELECTRONICS & TECHNOLOGY CO., LTD , https://www.cowellsockets.com